
Keepsake Christmas Decorations
I love to take photos. That is, I would say, reasonably obvious. Photos document life. History. They're emotive. They tell stories. And looking back on these photos months, or years on, makes me incredibly happy and incredibly nostalgic.
Memories of my own childhood come from other forms of keepsakes too, and when I came across this (very easy) tutorial online recently, I was taken back to December days, where as a family we would decorate the real pine tree my Mum expertly chose and hang hand-crafted ornaments we made as toddlers ourselves. Needless to say, I had to make them with Rio. And it was fun. And she loved it. Keepsake Salt Dough Ornaments Ingredients:
· 1 1/2 cups plain flour
· 1/2 cup salt
· 1 tablespoon vegetable oil
· 2/3 cup cold water
· String to hang
(Optional adornments)
· Paints
· Glitter
· Pom Poms
· Stickers
Method: Preheat oven to 100°C and line a tray with baking paper, or tin foil.
Mix flour and salt in a large bowl and make a well in the centre. Add oil, then gradually add water and mix until combined. Lightly flour your bench top and turn dough out. Knead to make into a smooth ball.

Roll out your salt dough on the floured surface. I couldn't find our rolling pin, so ended up using a rounded heavy glass tumbler which Rio found extra hilarious.
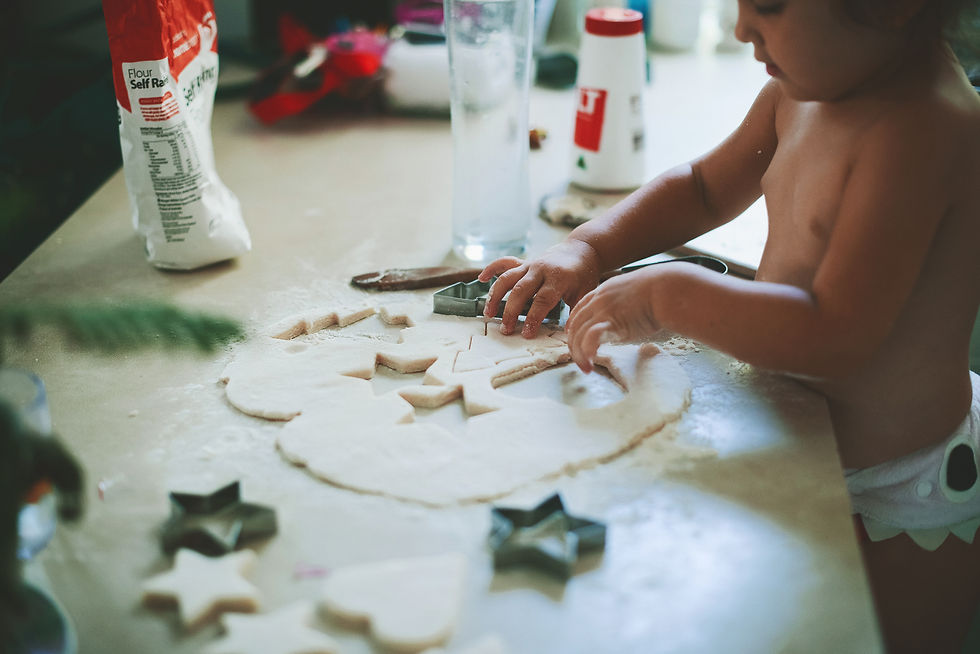
Using Christmas shaped cookie cutters cut out as many decorations as you can, then re-roll the dough to get as many decorations as you can out of your dough.

Use a straw, or chopstick (or basically anything rounded and large enough) to make a hole near the top of your decoration.

Place your decorations carefully on the baking tray and bake in the oven for 2 1/2 or until very firm and dry.

Transfer to a wire rack to cool completely before painting. We actually waited until the next day to paint.

Then paint. Which is great fun for your toddler. And maybe be a little more prepared than I and put each colour in a separate small container to avoid the primary colour you paint with being a mixed-together sludge of mostly brown.

Let your children go wild. They don't have to be perfect, remember. Add your glitter and other adornments while the paint is still wet. You can paint both the front and the back; it's completely up to you.

Set your painted ornaments aside and when they're dry, thread your string through and hang.

Have fun!! And Merry Christmas x
Comments